Configure Timeframe Toggle

Written by Spencer Worley
Updated at August 28th, 2024
Table of Contents
Scope
Intended Audience: All Users
The following article outlines how to configure Timeframe Toggles. Timeframe Toggles are used to manually enable and disable time frames.
Requirements
- Basic User Access to Manager Portal or higher
Troubleshooting
- Basic Users may only configure Timeframe Toggle for themselves. Site Managers or higher may configure Timeframe Toggle for other users.
Create Time Frame
- Log in to the Manager Portal
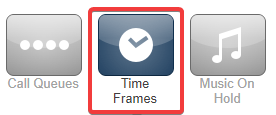
- Navigate to Time Frames
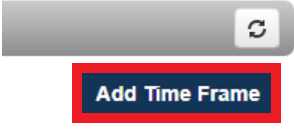
- Click Add Time Frame
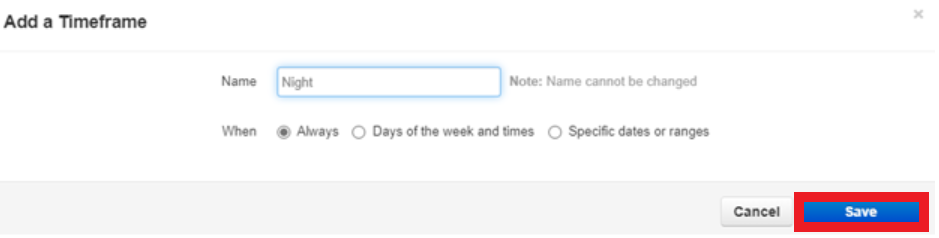
- Set the Name for the timeframe. For example, the name of the timeframe could be Night, Holiday, Meeting, etc.
NOTE: Make sure to match capitalization and spelling exactly - Set When to Always
- Click Save
- Click to Zoom
- Follow Time of Day Routing to add the Time Frame to a phone number, or Answering Rules to add it to a specific extension.
Create Timeframe Toggle on a Phone Using SNAPbuilder
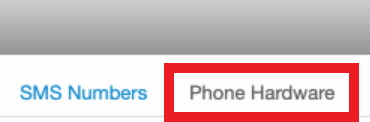
- Navigate to Inventory > Phone Hardware
- Click on the MAC Address of the device you wish to add the Time Frame toggle to.

- Click on the desired button you want to use for the Time Frame toggle. ie. Button 5
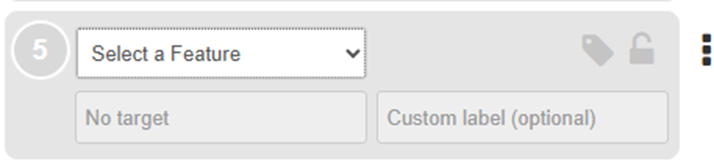
- From the Select a Feature drop-down, select Timeframe Toggle
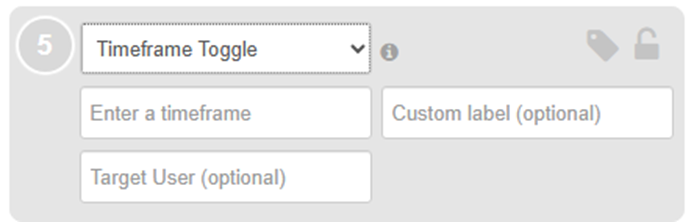
- Select the Target User and enter the extension of the user on which the Timeframe was set in the previous section
NOTE: For Time of Day routing on phone numbers, enter the 11-digit number
NOTE: If no target user is selected, then the user whose device this is will be the one affected. This key will toggle their own answering rule on/off. If a target user is selected (from the auto-populated list of users), then the key will toggle that user's answering rule on/off.- Select the Timeframe from the list for Enter a timeframe
- NOTE: As of Manager Portal 43.1.1, a known issue breaks this dropdown list. Enter the timeframe’s name and exact characters to match & save, ignoring the warning.
- Enter an optional Button label for the time frame toggle.
- Select the Timeframe from the list for Enter a timeframe
- Once finished, click Save and Resync
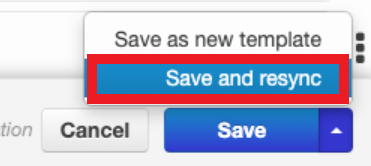
- The device will now resync and populate the button. the newly configured button will show the equivalent of an available user BLF status on the device when the timeframe is enabled and the equivalent of an in-use/busy status (often red) when the timeframe is disabled.
Toggle Timeframe Toggle
Use Star Code
To turn the timeframe on or off, dial *76 from the device of the user it was configured on. When toggled off, the answering rule will show a black Disabled tag.
Use Timeframe Toggle Button on Phone
Once the button is populated and showing on the phone, you simply need to press the button to enable and disable the timeframe.
When disabled, the associated timeframe in the Phone Number timeframe settings will show as disabled.